BASIS-Peoria was rated the nation’s #1 public high school, and a dozen Arizona schools scored among the country’s 100 best, according to newly-released, 2024 rankings by U.S. News & World Report. Among all...


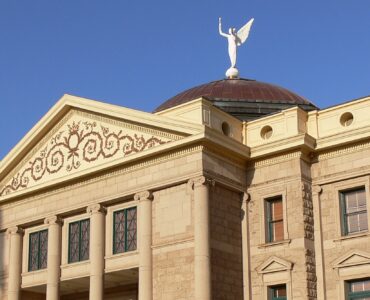
Governors, including Hobbs, seek greater flexibility from feds on air quality standards
A bipartisan coalition of Western state governors is seeking greater flexibility from the Biden administration in achieving the strict ozone standards in the Clean Air Act. In a letter from Arizona Gov. Katie...